软件开发指导
开发环境
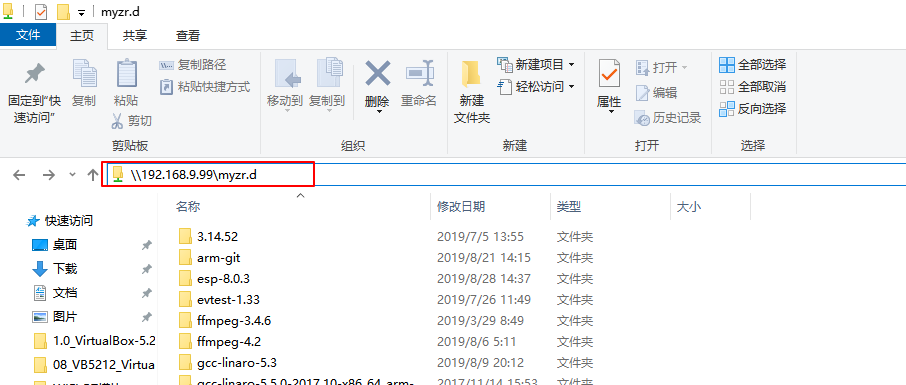
文件下载
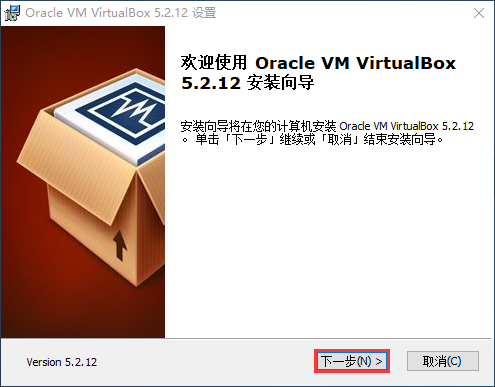
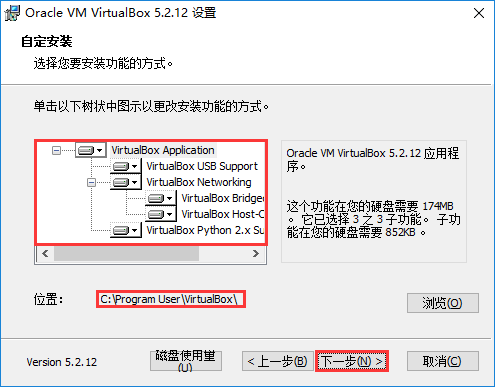
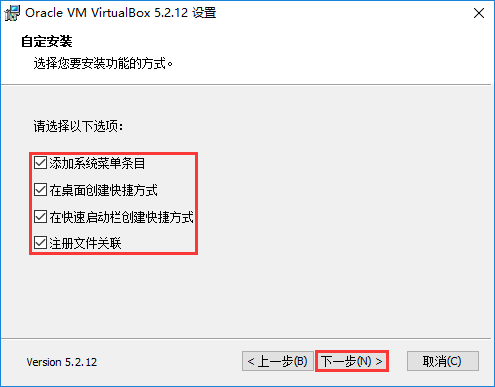
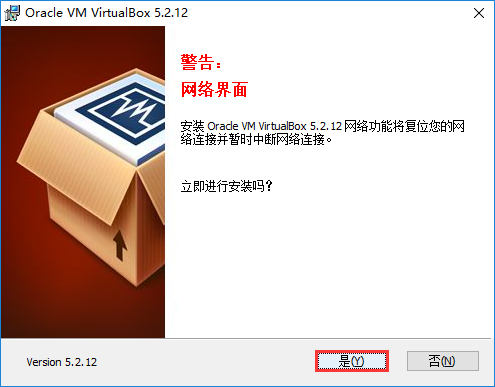
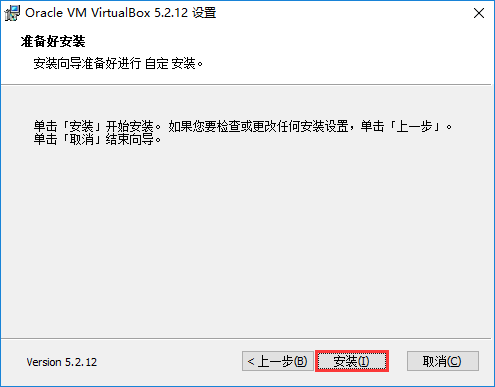
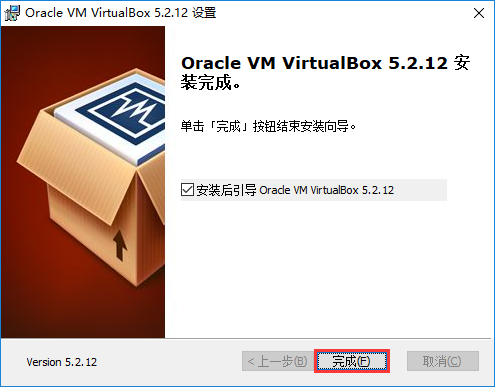
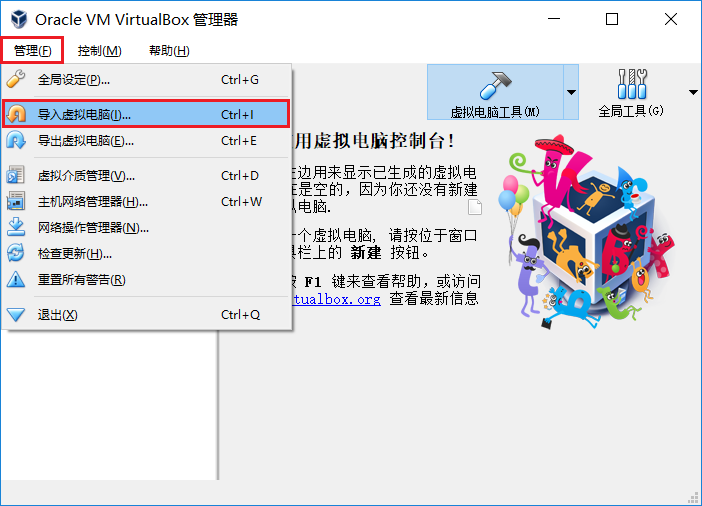
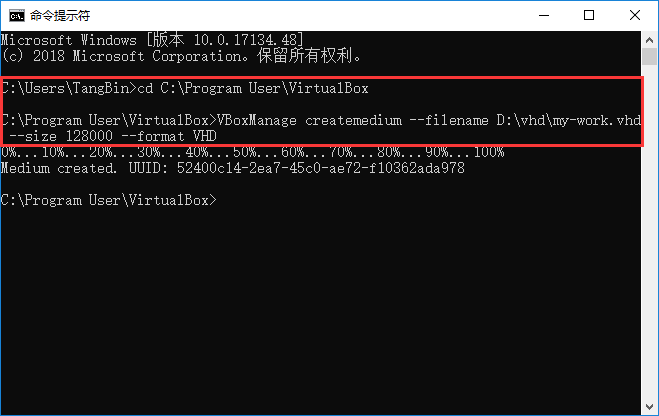
安装虚拟机软件
为虚拟机配置 Windows
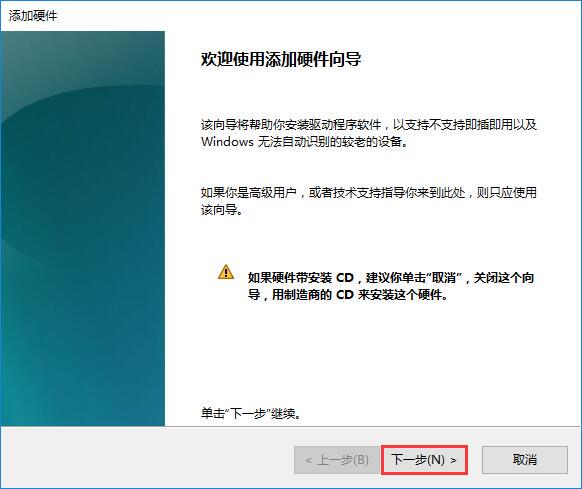
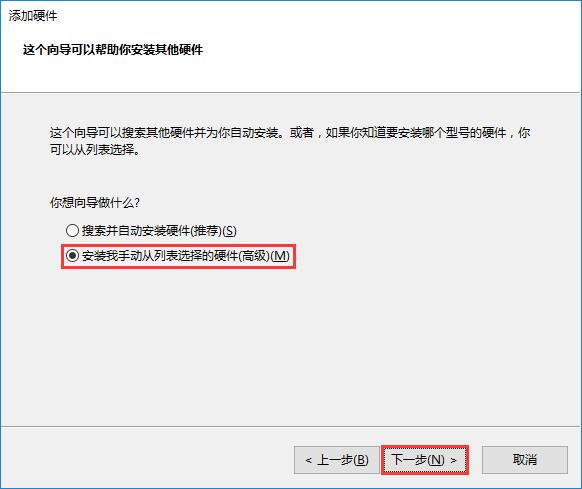
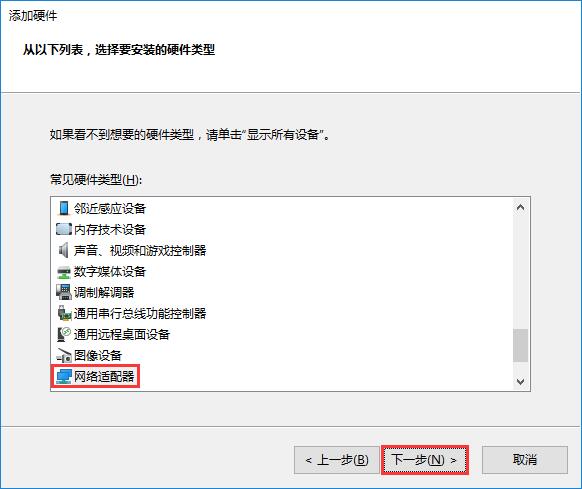
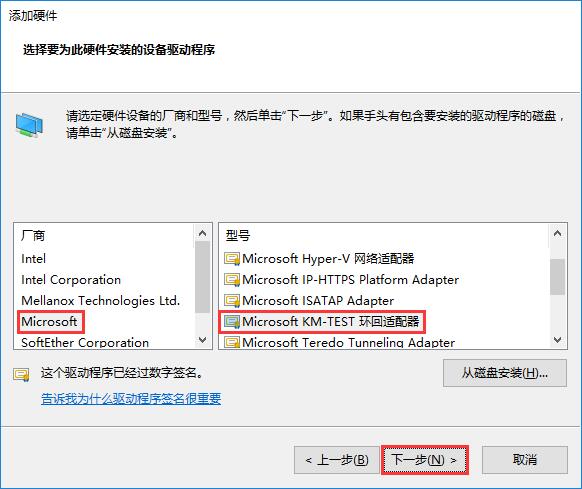
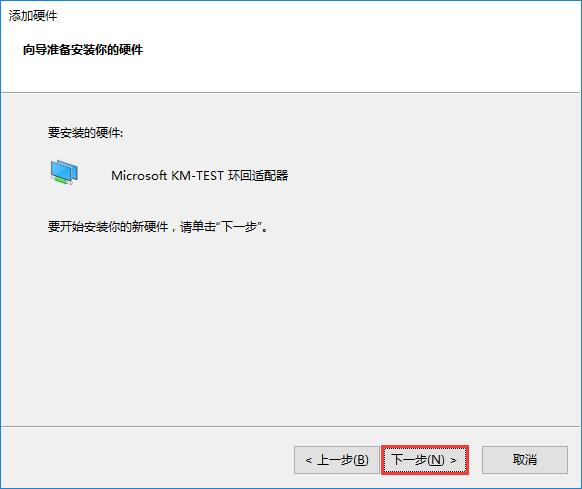
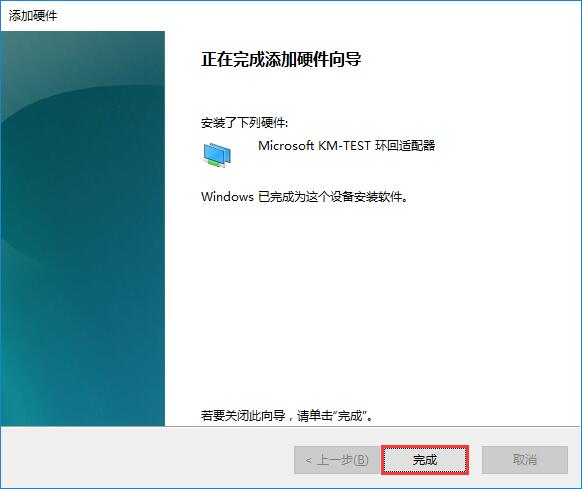
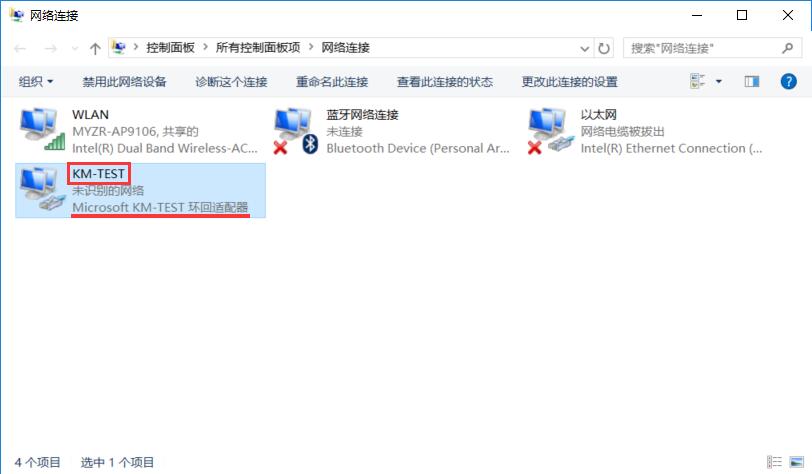
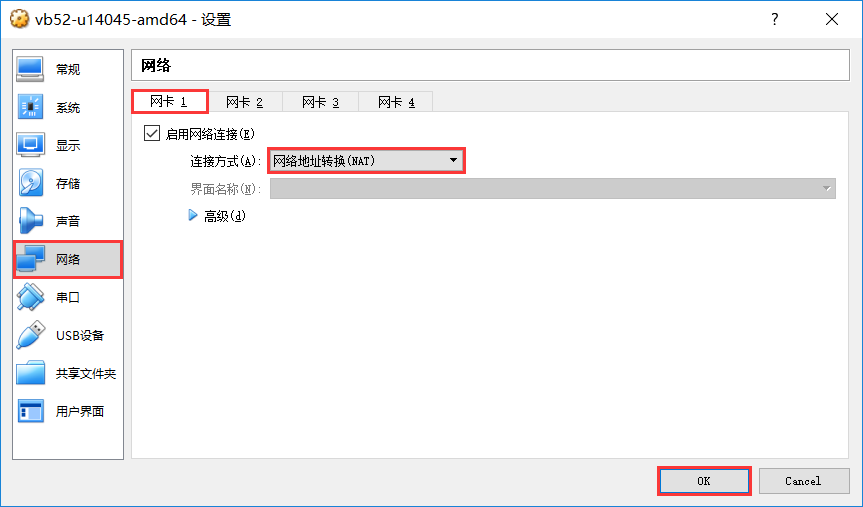
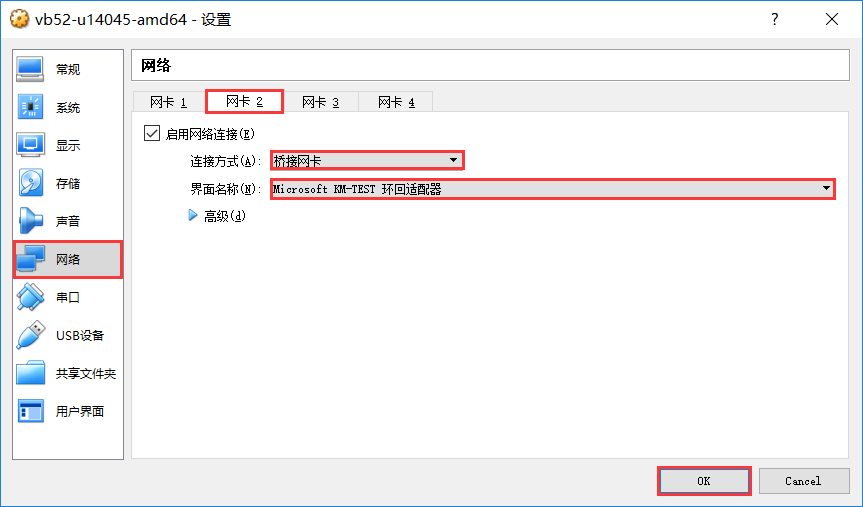
添加 Windows 网卡

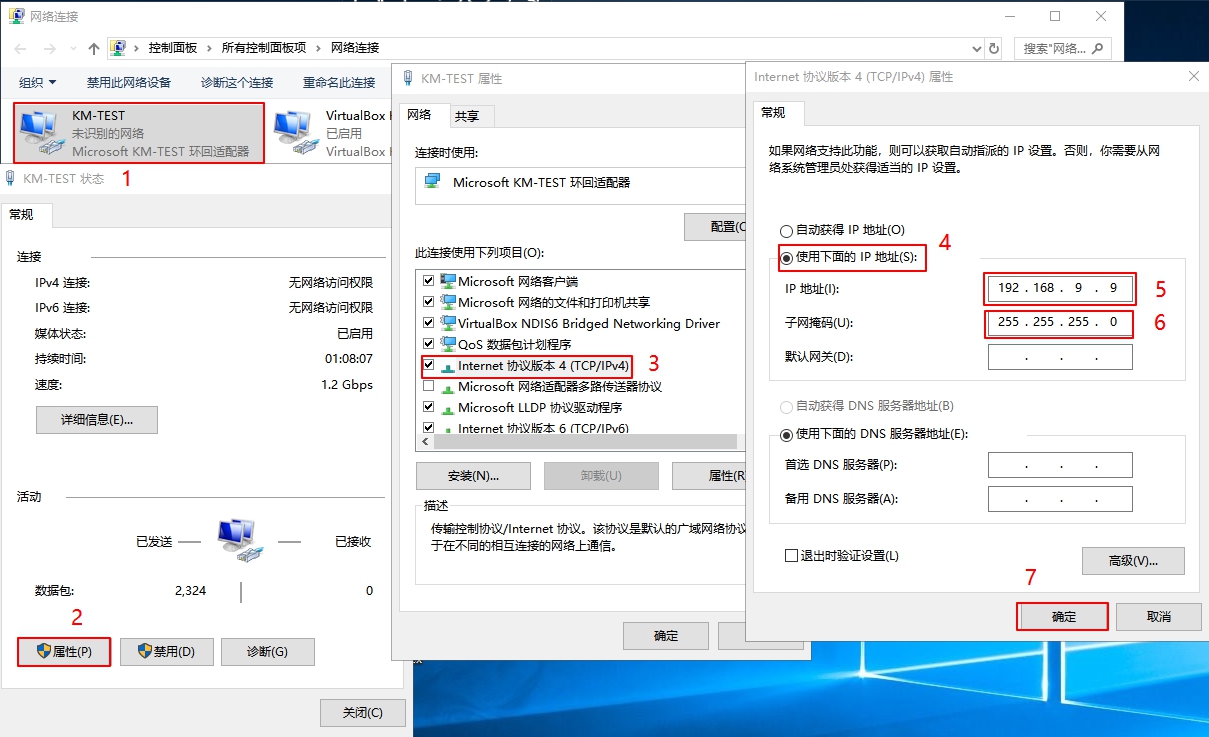
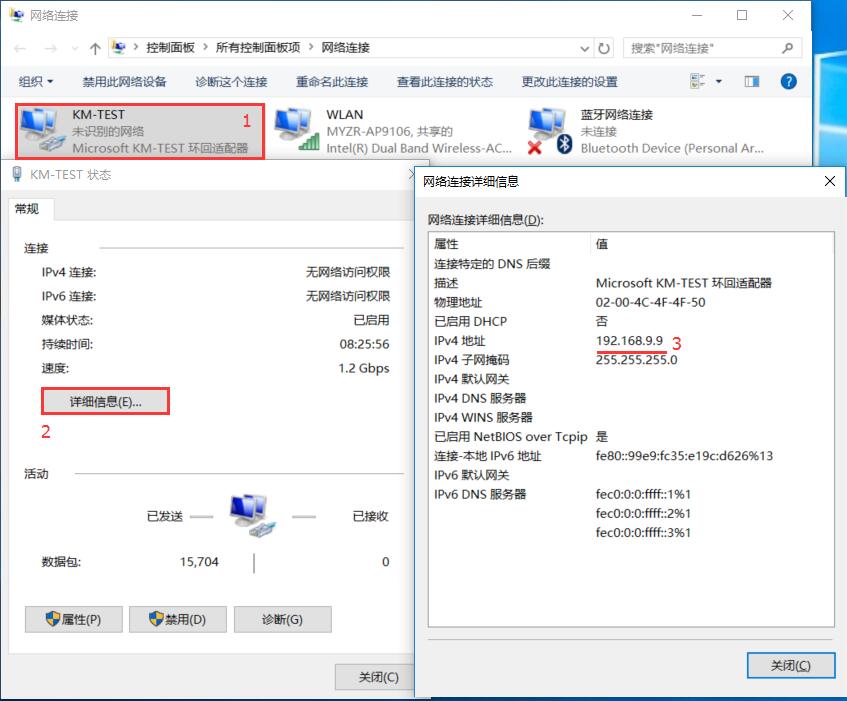
配置 Windows 网卡
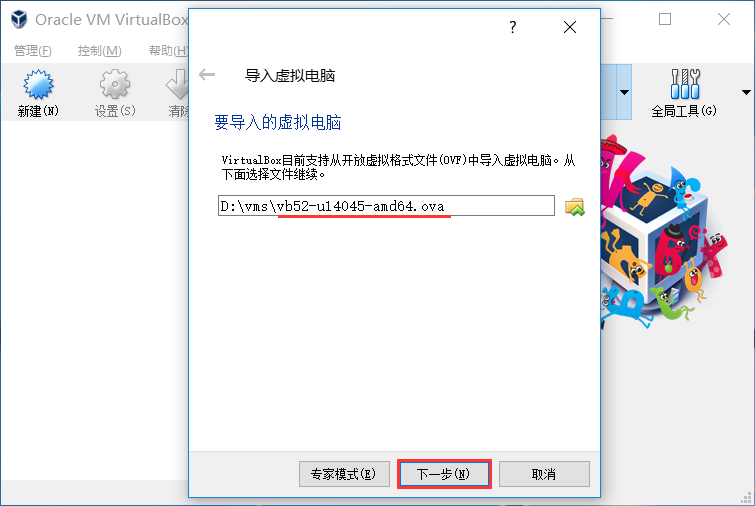
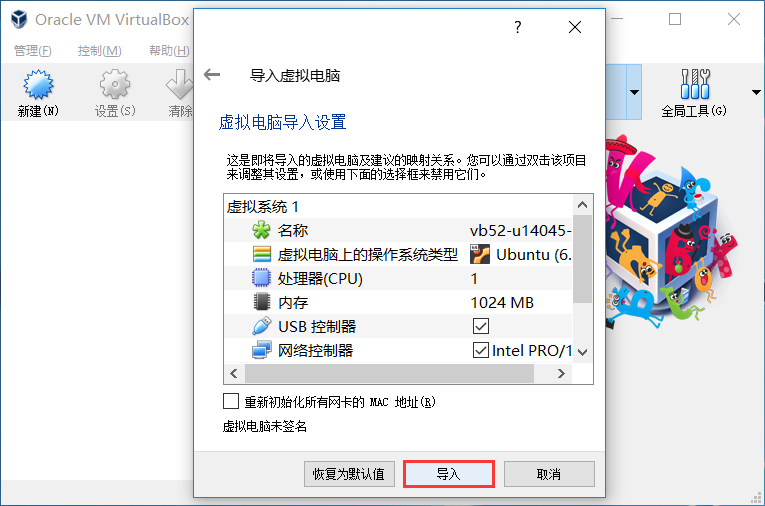
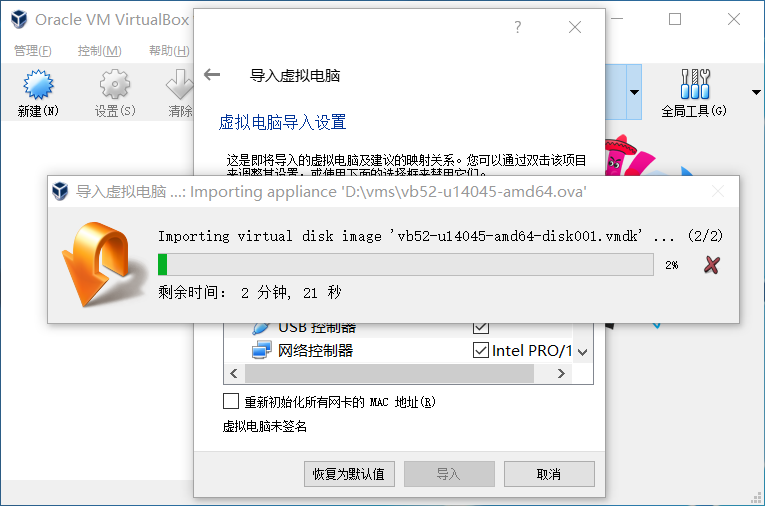
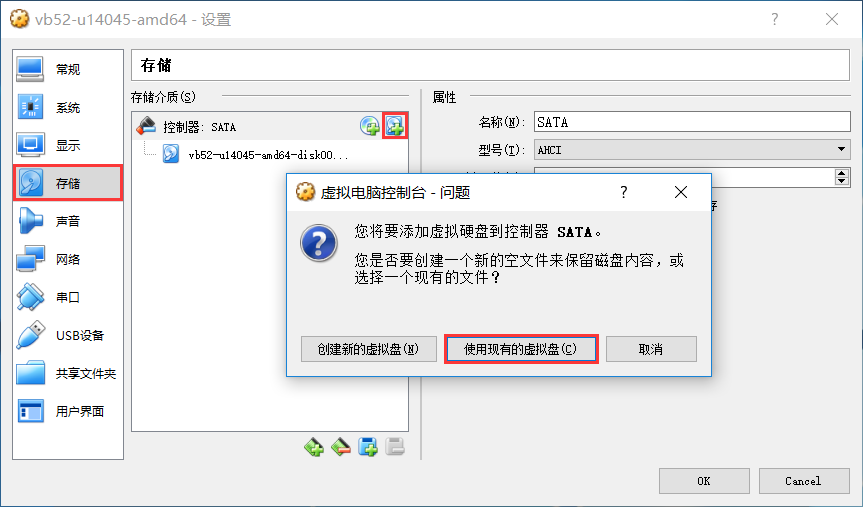
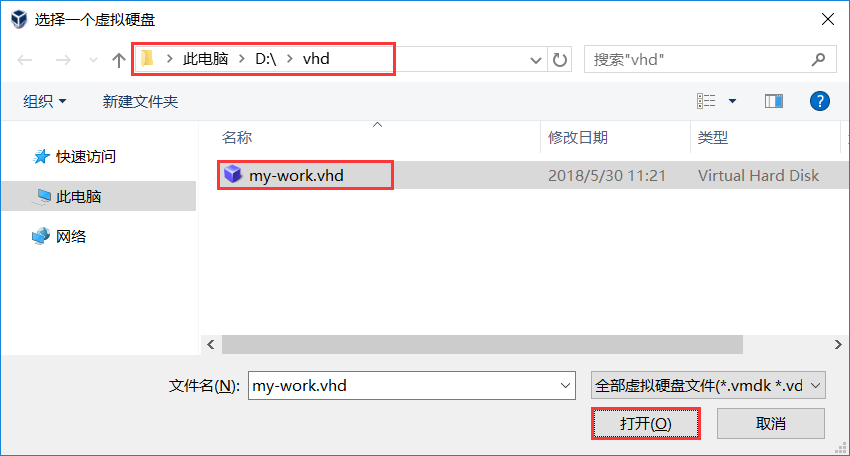
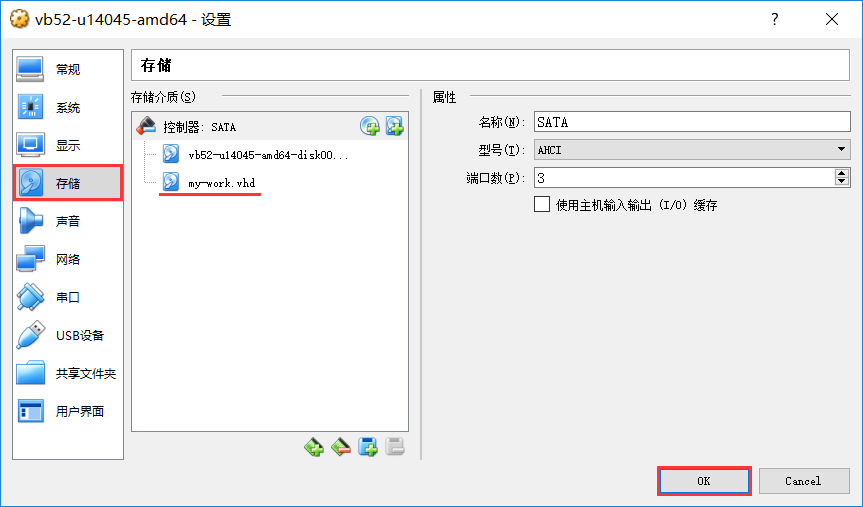
导入虚拟机系统
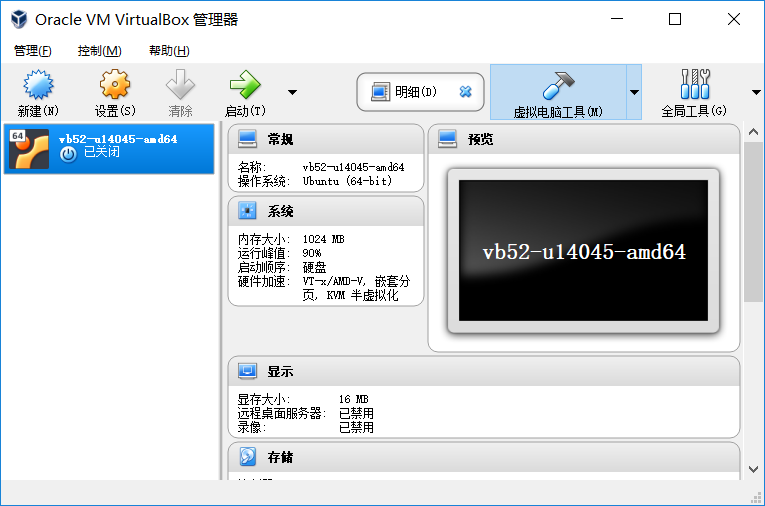
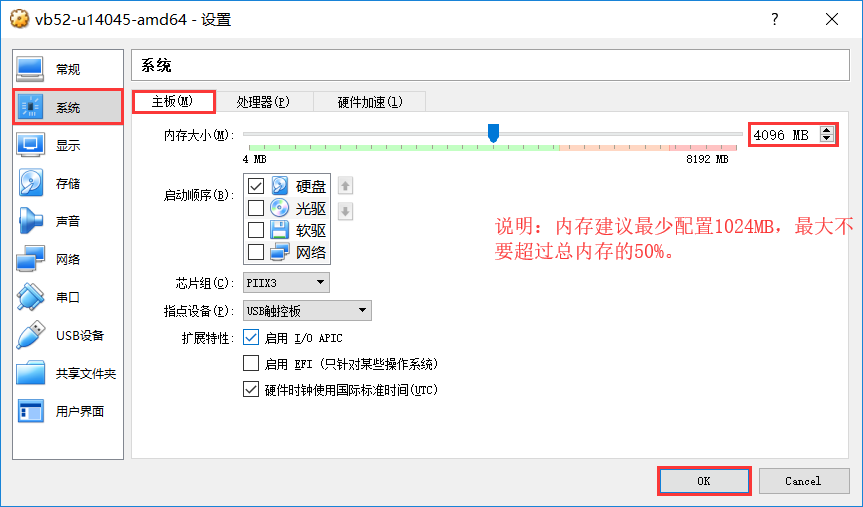
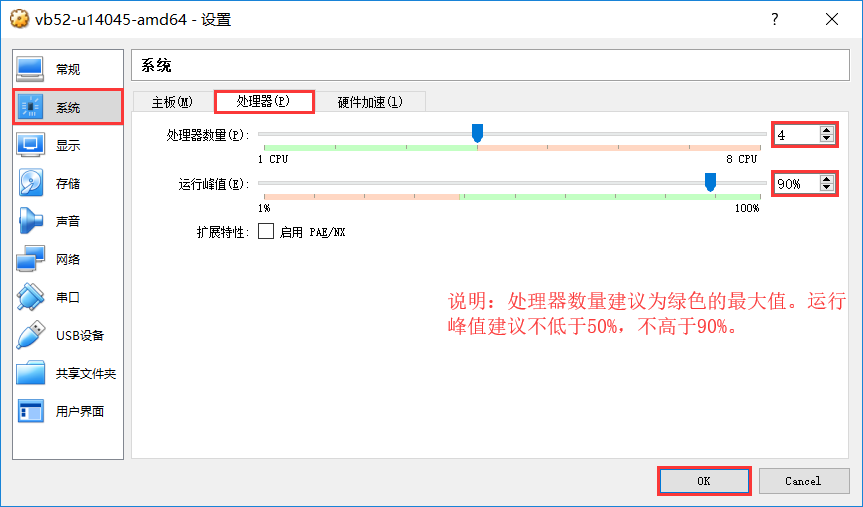
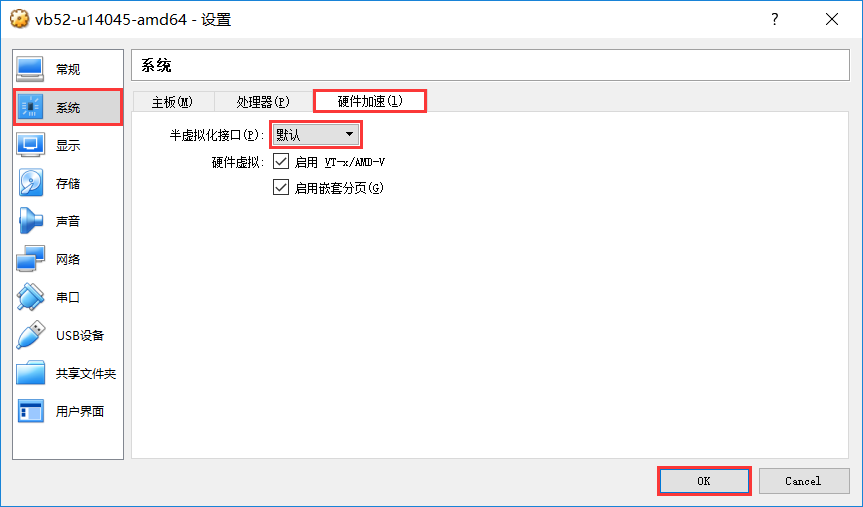
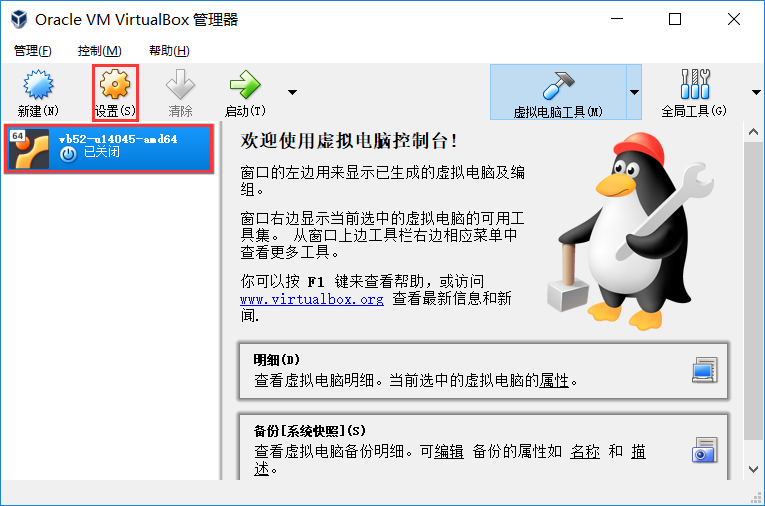
虚拟机设置


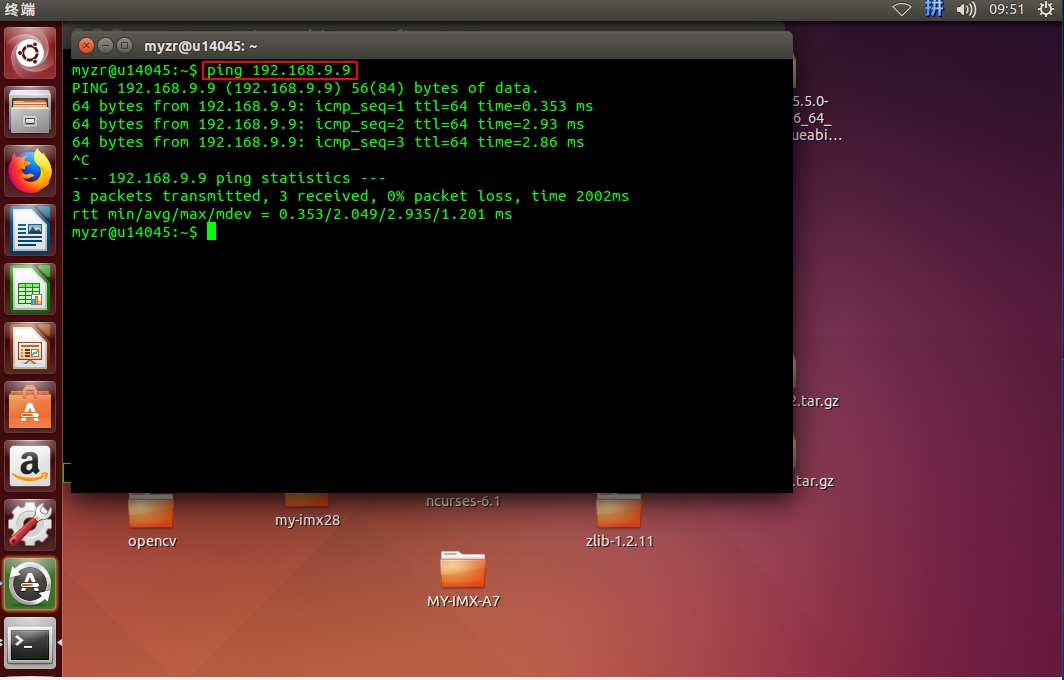
虚拟机与PC互传文件
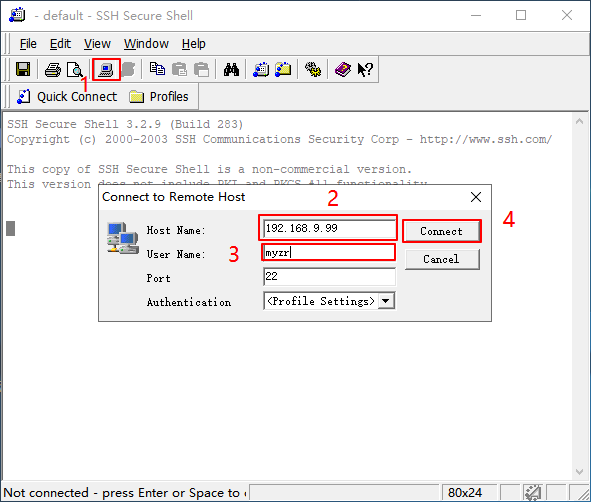
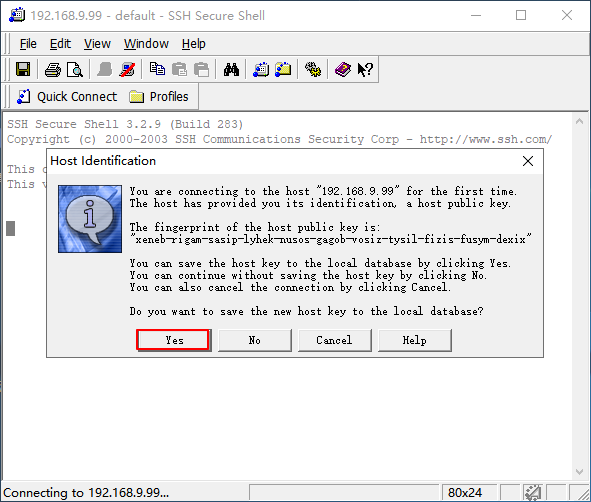
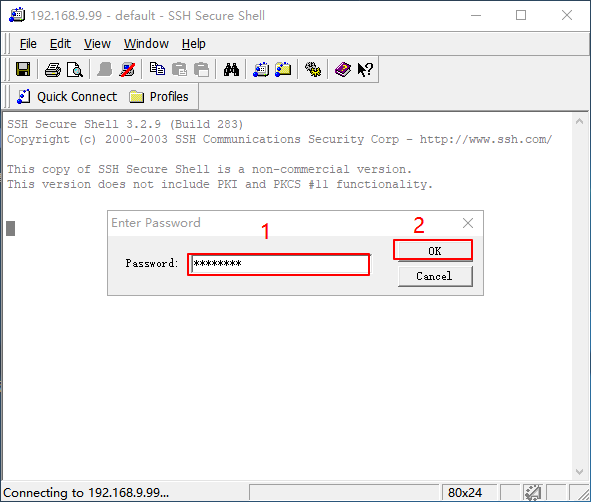
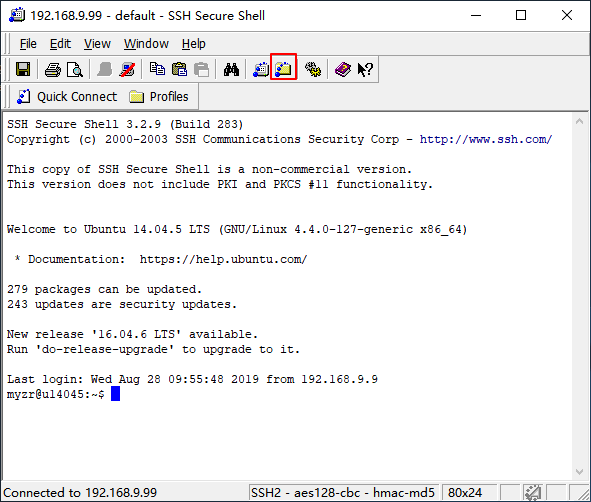

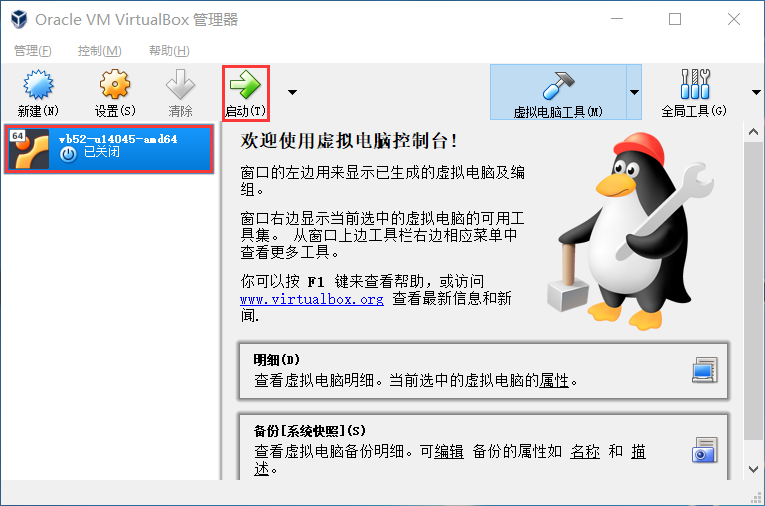
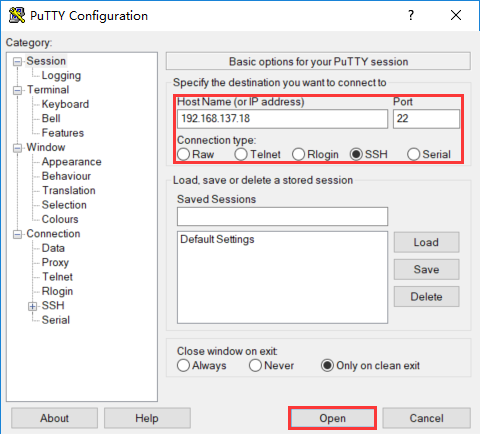
虚拟机使用
用户和密码
源码编译
编译环境要求
依赖安装
sudo apt-get install build-essential subversion git-core libncurses5-dev zlib1g-dev gawk flex quilt libssl-dev xsltproc \
libxml-parser-perl mercurial bzr ecj cvs unzip lib32z1 lib32z1-dev lib32stdc++6 libstdc++6 libc6:i386 libstdc++6:i386 \
lib32ncurses-dev lib32z1 ncurses-term bison libexpat1-dev -y
整体编译
./build.sh config
All available platform:
   0. android
   1. linux
Choice [linux]: 1
All available linux_dev:
   0. bsp
   1. ubuntu
   2. buildroot
Choice [buildroot]: 2
All available ic:
   0. t536
Choice [t536]: 0
All available board:
   0. demo
   1. demo_amp
   2. demo_kylo
   3. demo_nand
   4. demo_nor
   5. demo_raw_nand
   6. myzr_t536
Choice [myzr_t536]: 6
All available flash:
   0. default
   1. nor
Choice [default]: 0
All available kern_name:
   0. linux-5.10-euler
   1. linux-5.10-origin
   2. linux-5.10-rt
   3. linux-5.10-xenomai
   4. linux-5.15-origin
Choice [linux-5.10-origin]: 1
./build.sh
./build.sh pack
单独编译
./build.sh bootloader
./build.sh kernel
./build.sh buildroot_rootfs
./build.sh pack
更多编译命令
source build/envsetup.sh
编译镜像的位置
out/t536_linux_demo_uart0_linux-5.10-origin.img
开发指导
U-Boot 板级文件
u-boot 板级文件位置:brandy/brandy-2.0/u-boot-bsp/board/sunxi
u-boot 板级配置文件:brandy/brandy-2.0/u-boot-bsp/include/configs/
u-boot 极级编译配置文件:brandy/brandy-2.0/u-boot-bsp/configs/sun55iw6p1_t536_defconfig
Linux 内核板级文件
内核板级编译配置文件:device/config/chips/t536/configs/myzr_t536/linux-5.10-origin/buildroot_linux_defconfig
内核板级设备树文件:device/config/chips/t536/configs/myzr_t536/linux-5.10-origin/board.dts
内核开发参考手册:网盘中《Reference Manual.pdf》
Ethernet
dts 配置
gmac0: ethernet@2a220000 {
                compatible = "rockchip,rk3576-gmac", "snps,dwmac-4.20a";
                reg = <0x0 0x2a220000 0x0 0x10000>;
                interrupts = <GIC_SPI 293 IRQ_TYPE_LEVEL_HIGH>,
                             <GIC_SPI 298 IRQ_TYPE_LEVEL_HIGH>;
                interrupt-names = "macirq", "eth_wake_irq";
                rockchip,grf = <&sdgmac_grf>;
                rockchip,php_grf = <&ioc_grf>;
                clocks = <&cru CLK_GMAC0_125M_SRC>, <&cru CLK_GMAC0_RMII_CRU>,
                         <&cru PCLK_GMAC0>, <&cru ACLK_GMAC0>,
                         <&cru CLK_GMAC0_PTP_REF>;
                clock-names = "stmmaceth", "clk_mac_ref",
                              "pclk_mac", "aclk_mac",
                              "ptp_ref";
                resets = <&cru SRST_A_GMAC0>;
                reset-names = "stmmaceth";
                power-domains = <&power RK3576_PD_SDGMAC>;

                dma-coherent;
                snps,mixed-burst;
                snps,tso;

                snps,axi-config = <&gmac0_stmmac_axi_setup>;
                snps,mtl-rx-config = <&gmac0_mtl_rx_setup>;
                snps,mtl-tx-config = <&gmac0_mtl_tx_setup>;
                status = "disabled";

                mdio0: mdio {
                        compatible = "snps,dwmac-mdio";
                        #address-cells = <0x1>;
                        #size-cells = <0x0>;
                };

                gmac0_stmmac_axi_setup: stmmac-axi-config {
                        snps,wr_osr_lmt = <4>;
                        snps,rd_osr_lmt = <8>;
                        snps,blen = <0 0 0 0 16 8 4>;
                };

                gmac0_mtl_rx_setup: rx-queues-config {
                        snps,rx-queues-to-use = <1>;
                        queue0 {};
                };

                gmac0_mtl_tx_setup: tx-queues-config {
                        snps,tx-queues-to-use = <1>;
                        queue0 {};
                };
        };
&gmac0 {
/* Use rgmii-rxid mode to disable rx delay inside Soc */
phy-mode = "rgmii-rxid";
clock_in_out = "output";
snps,reset-gpio = <&gpio2 RK_PB5 GPIO_ACTIVE_LOW>;
snps,reset-active-low;
/* Reset time is 20ms, 100ms for rtl8211f */
snps,reset-delays-us = <0 20000 100000>;
pinctrl-names = "default";
pinctrl-0 = <ð0m0_miim
ð0m0_tx_bus2
ð0m0_rx_bus2
ð0m0_rgmii_clk
ð0m0_rgmii_bus
ðm0_clk0_25m_out>;
tx_delay = <0x21>;
/* rx_delay = <0x3f>; */
phy-handle = <&rgmii_phy0>;
status = "okay";
};
网口没有自动获取ip
RTC 使用
简介
可计时基于 32.768kHz 晶体的秒,分,小时,星期,天,月和年
宽工作电压范围:1.0~5.5V
低休眠电流:典型值为 0.25μA(VDD =3.0V, TA =25°C)
内部集成振荡电容
漏极开路中断引脚
RTC驱动
接口使用
SYSFS接口:/sys/class/rtc/rtc0/
PROCFS接口: /proc/driver/rtc
IOCTL接口: /dev/rtc0
SYSFS接口
root@root:/# date -s "2025-05-7 10:00:00"
Wed May  7 10:00:00 UTC 2025
root@root:/# cat /sys/class/rtc/rtc0/time
10:00:24
PROCFS 接口
root@root:/# cat /proc/driver/rtc
rtc_time        : 10:03:19
rtc_date        : 2025-05-07
alrm_time        : 10:04:00
alrm_date        : 2025-05-07
alarm_IRQ        : no
alrm_pending        : no
update IRQ enabled        : no
periodic IRQ enabled        : no
periodic IRQ frequency        : 1
max user IRQ frequency        : 64
24hr                : yes
IOCTL接口
FAQs
Q1: 开发板上电后时间不同步?
485
DTS配置
&uart5 {
    status = "okay";
    pinctrl-0 = <&uart5m1_xfer>;
};
/dev/ttyS5
CAN
CAN 简介
DTS 节点配置
公共配置 kernel/arch/arm64/boot/dts/rockchip/rk3576.dtsi
can0: can@2ac00000 {
        compatible = "rockchip,rk3576-canfd";
        reg = <0x0 0x2ac00000 0x0 0x1000>;
        interrupts = <GIC_SPI 121 IRQ_TYPE_LEVEL_HIGH>;
        clocks = <&cru CLK_CAN0>, <&cru HCLK_CAN0>;
        clock-names = "baudclk", "apb_pclk";
        resets = <&cru SRST_CAN0>, <&cru SRST_H_CAN0>;
        reset-names = "can", "can-apb";
        dmas = <&dmac0 20>;
        dma-names = "rx";
        status = "disabled";
};
板级配置 arch/arm64/boot/dts/rockchip/myzr-rk3576-linux.dts
&can0 {
    status = "okay";
    assigned-clocks = <&cru CLK_CAN0>;
    assigned-clock-rates = <200000000>;
    pinctrl-names = "default";
    pinctrl-0 = <&can0m2_pins>;
};
更多指令
1、 ip link set canX down                 //关闭can设备;
2、 ip link set canX up                   //开启can设备;
3、 ip -details link show canX                 //显示can设备详细信息;
4、 candump canX                          //接收can总线发来数据;
5、 ifconfig canX down                         //关闭can设备,以便配置;
6、 ip link set canX up type can bitrate 250000 //设置can波特率
7、 conconfig canX bitrate + 波特率;
8、 canconfig canX start                 //启动can设备;
9、 canconfig canX ctrlmode loopback on //回环测试;
10、canconfig canX restart                 // 重启can设备;
11、canconfig canX stop                 //停止can设备;
12、canecho canX                         //查看can设备总线状态;
13、cansend canX --identifier=ID+数据         //发送数据;
14、candump canX --filter=ID:mask        //使用滤波器接收ID匹配的数据
报文发送后很久才接收到,或者接收不到。
GPIO
简介
GPIO引脚计算
#define RK_PA0          0
#define RK_PA1          1
#define RK_PA2          2
#define RK_PA3          3
#define RK_PA4          4
#define RK_PA5          5
#define RK_PA6          6
#define RK_PA7          7
#define RK_PB0          8
...
中断
interrupt-parent = <&gpio0>;
interrupts = <RK_PB0 IRQ_TYPE_LEVEL_LOW>;
复用
              /omit-if-no-ref/
              uart5m1_xfer: uart5m1-xfer {
                      rockchip,pins =
                              /* uart5_rx_m1 */
                              <4 RK_PB1 10 &pcfg_pull_up>,
                              /* uart5_tx_m1 */
                              <4 RK_PB0 10 &pcfg_pull_up>;
              };

&uart5 {
    status = "okay";
    pinctrl-0 = <&uart5m1_xfer>;
};
GPIO 调试接口
root@root:/# cat sys/kernel/debug/gpio
gpiochip0: GPIOs 0-31, parent: platform/27320000.gpio, gpio0:
 gpio-22  (                    |vcc3v3-lcd0-n       ) out lo
 gpio-23  (                    |vcc5v0-host         ) out hi
 gpio-25  (                    |vbus5v0-typec       ) out lo
 gpio-27  (                    |hp-det              ) in  lo IRQ

gpiochip1: GPIOs 32-63, parent: platform/2ae10000.gpio, gpio1:
 gpio-57  (                    |vcc3v3-pcie0        ) out hi

gpiochip2: GPIOs 64-95, parent: platform/2ae20000.gpio, gpio2:
 gpio-70  (                    |sbu1-dc             ) out lo
 gpio-71  (                    |sbu2-dc             ) out lo
 gpio-72  (                    |enable              ) out hi
 gpio-73  (                    |spk-con             ) out lo

gpiochip3: GPIOs 96-127, parent: platform/2ae30000.gpio, gpio3:
 gpio-126 (                    |hp-con              ) out lo

gpiochip4: GPIOs 128-159, parent: platform/2ae40000.gpio, gpio4:

gpiochip5: GPIOs 509-511, parent: platform/rk806-pinctrl.1.auto, rk806-gpio, can sleep:
HDMI
HDMI接口的配置
kernel/arch/arm64/boot/dts/rockchip/myzr-screen-lcds.dts
#define LCD_TYPE_HDMI  //VP0
//#define LCD_TYPE_MIPI0  //VP1
// #define LCD_TYPE_LVDS_7_0  //VP1
#if defined(LCD_TYPE_HDMI)
//HDMI配置
&vp0 {
    status = "okay";
};

&hdmi {
    status = "okay";
    enable-gpios = <&gpio2 RK_PB0 GPIO_ACTIVE_HIGH>;
    rockchip,sda-falling-delay-ns = <360>;
};

&hdmi_in_vp0 {
    status = "okay";
};

&hdptxphy_hdmi {
    status = "okay";
};

&hdmi_sound {
    status = "okay";
};

&route_hdmi {
    status = "okay";
    connect = <&vp0_out_hdmi>;
};

&display_subsystem {
    clocks = <&hdptxphy_hdmi>;
    clock-names = "hdmi0_phy_pll";
};
#endif